Introduction: vRealize Suite Lifecycle Manager provides a single installation and management platform for following vRealize Suite products.
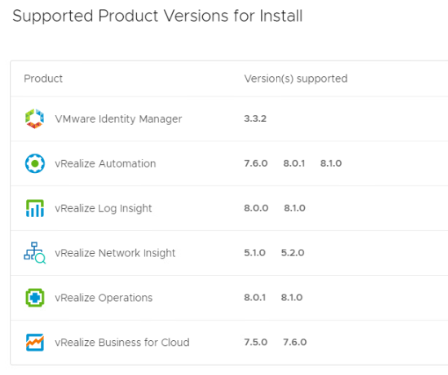
We will install all of them using vRLCM. VMware has really made life easy by introducing vRLCM. It automates the installation, configuration, management & patching from single pane of glass.
With that, lets begin with the installation. Obtain ‘vra-lcm-installer 8.1.0’ ISO from VMware downloads. I am installing this on 4 host cluster with just a vCenter in it. Minimum hardware requirement for for vRLCM is, 6 GB of memory and 48 GB storage (Thick Provision).
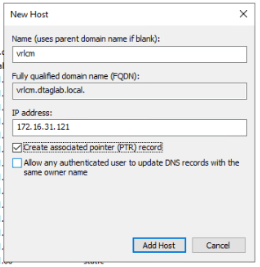
Create DNS record for vRLCM VM.
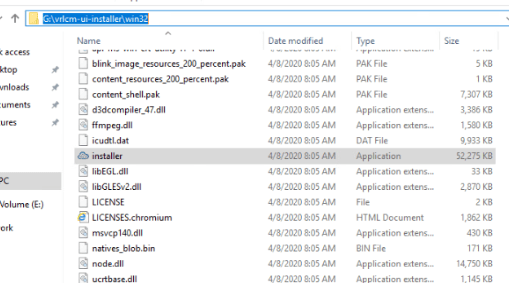
Mount vRLCM ISO file on one of the windows machine in the environment.

Navigate to ‘vrlcm ui installer\win32’ and open ‘Installer’ application.
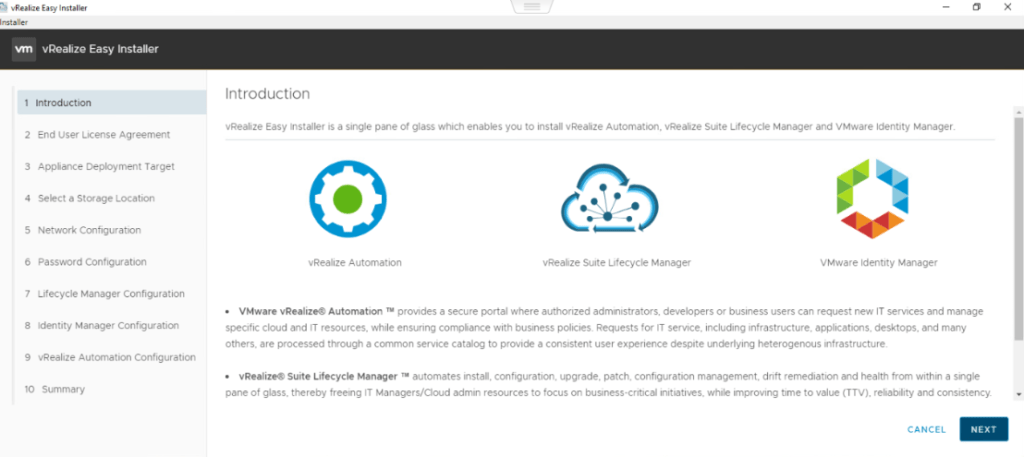
Install

Next
We will provide target vCenter, where we want our vRLCM to get installed.
Fill the information and Next.

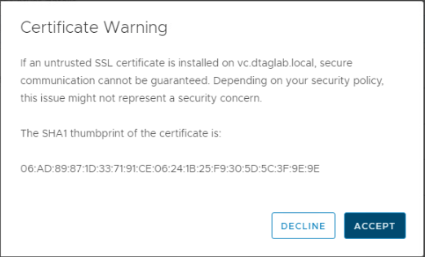
Accept the certificate.
Next, Select location, Compute Resource & Storage location.
Next, Network Configuration. Here we specify network information for all 3 products. i.e. vRA, vRLCM & vIDM. We don’t provide an IP address of the application on this screen. Fill the info and next.

Password Configuration: This password will be applied to all root and admin accounts for all products.

Provide vRLCM hostname and ip address here. Rest to be left on default.

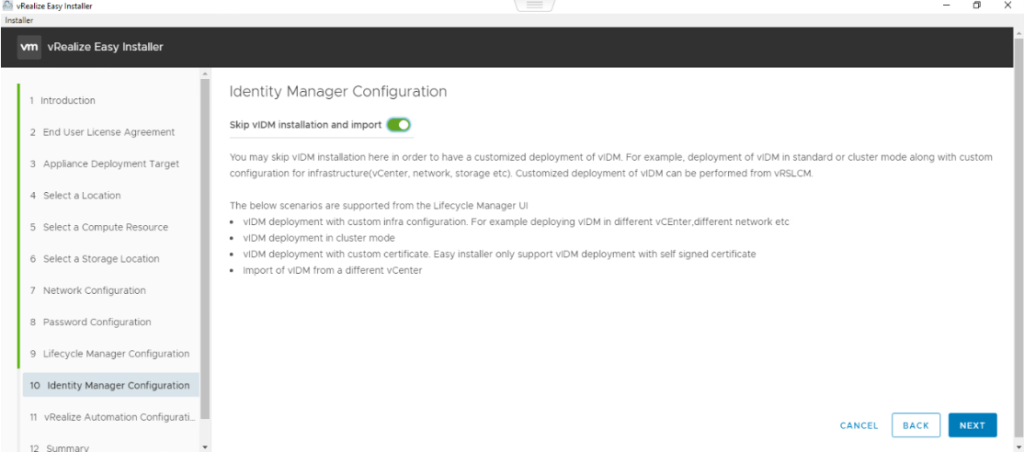
Next is VMware Identity Manager. You have an option to skip the deployment of vIDM and can be triggered later from vRLCM. Review the information given on this page.
Note: Without installing or importing a VMware Identity Manager, you cannot access any other environment from Lifecycle Manager.
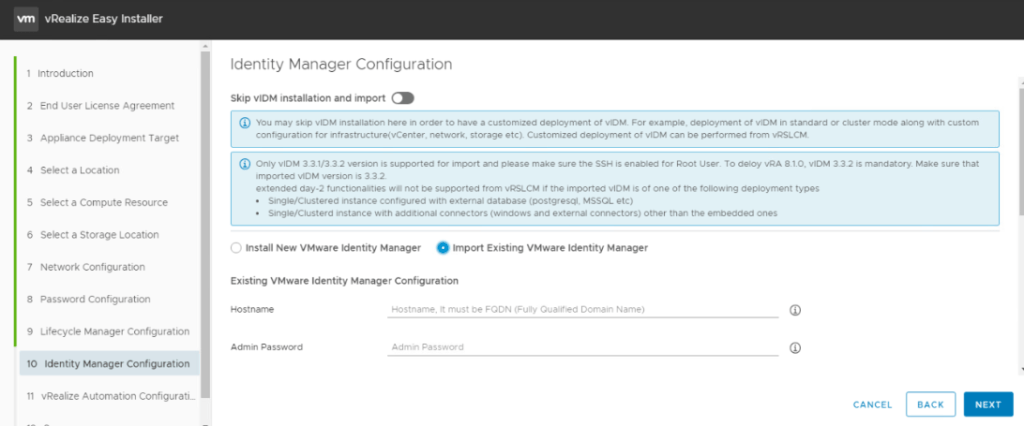
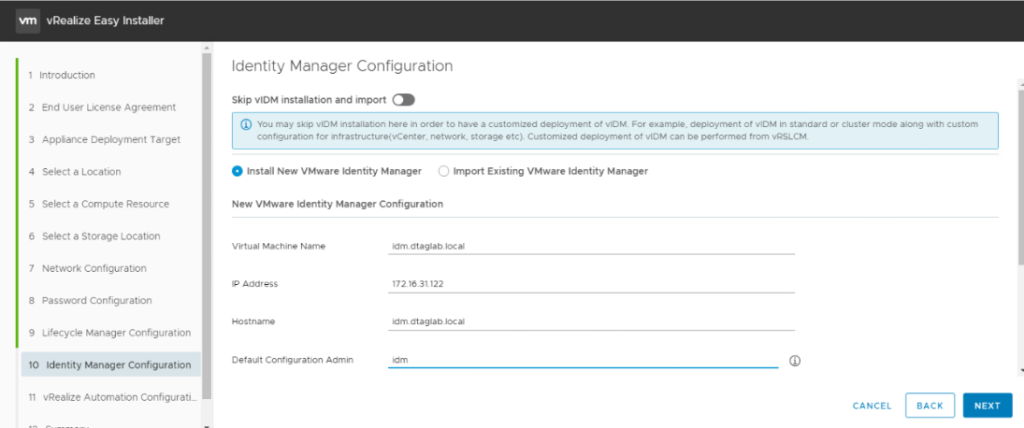
If you decide to deploy it now, then you get 2 options. Either to install fresh instance or to import an existing vIDM.
We will go with fresh install. Let’s create the DNS record for vIDM first.

Provide FQDN and IP address for vIDM VM.
Scroll down to enable ‘Sync Group’. If this is not done, then it only sync’s group names and users does not get permissions until the group is specifically entitled to an application.

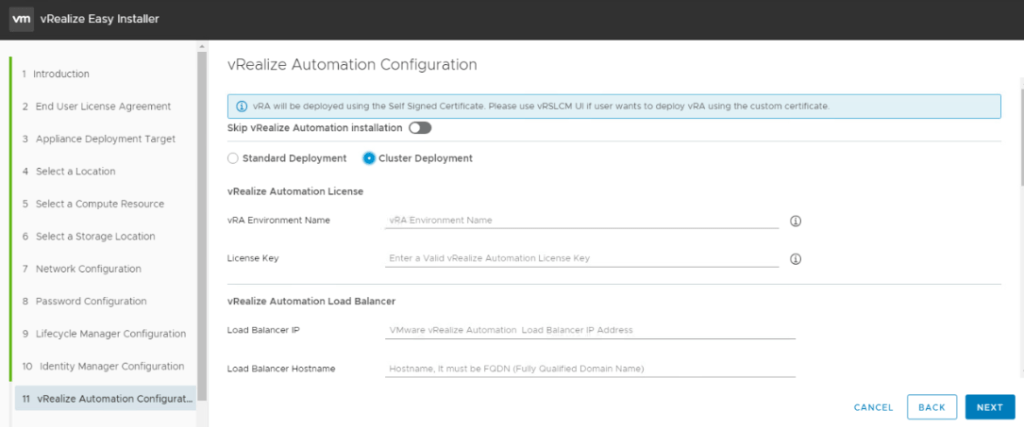
Next is vRA deployment. You also have an option to skip this too.
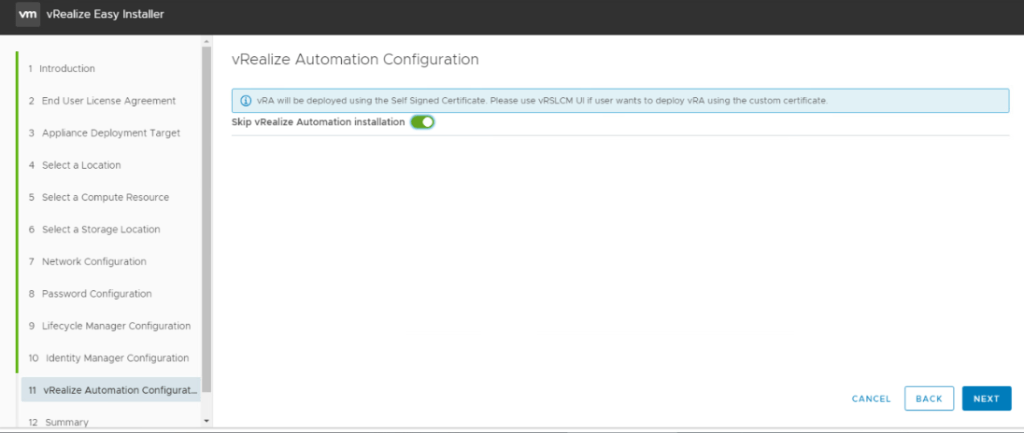
We will disable this to install Standard deployment of vRA.
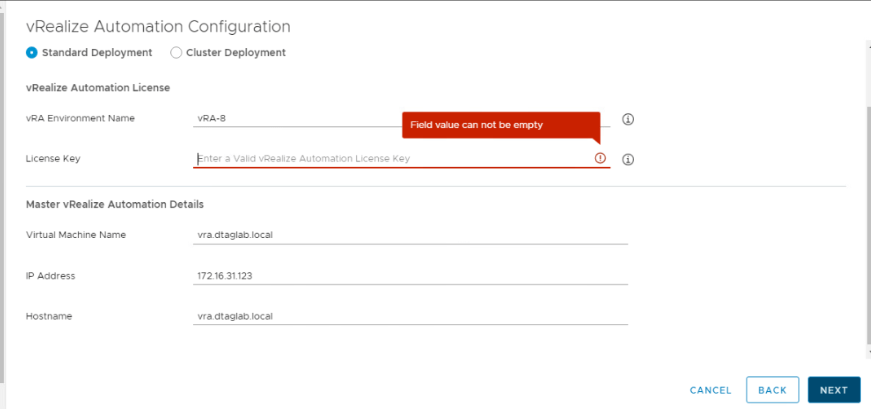
Create DNS record for vRA.
Enter the license key and ip address information.
Review the Summary and click Submit.

Installation starts and you see all your VM’s (vRLCM, vIDM & vRA) in your target vCenter.

It takes a while to install all components. Take a good long break here. 😊
Mine showed up an error at the end.
“vRealize Automation deployment has failed. Check vRSLCM UI for more details.”
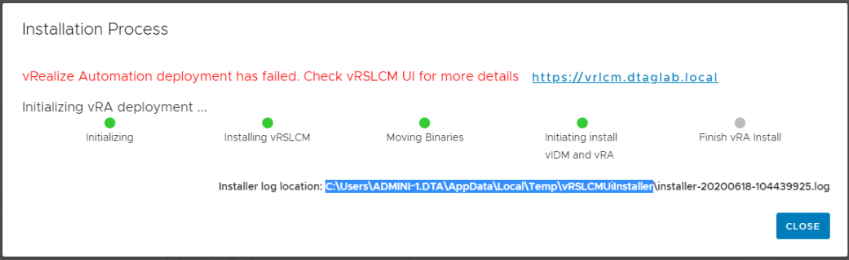
Checked the log file at mentioned location in the error.
Error ‘Failed to create vRA Environment’

By looking at the error in ‘Installation Process’, we could see that it has installed vRLCM, Binaries moved to vRLCM, Installed vIDM and failed vRA creation. I could also see a vRA VM in vCenter up and running.

Lets login to vRLCM to find out what went wrong while creating vRA Environment.
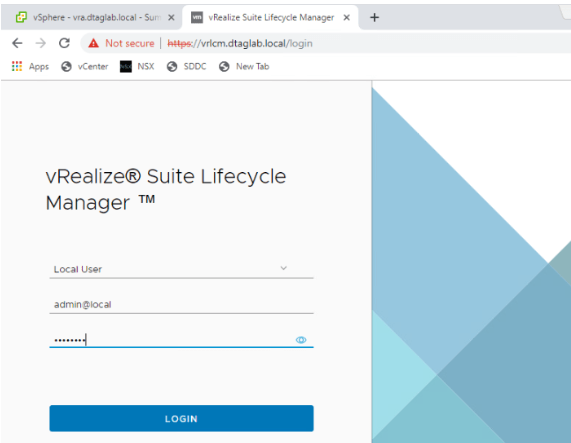
Browse to vRLCM FQDN and login with ‘admin@local’
Click ‘Lifecycle Operations’

I could see on the Dashboard that the vRA Env has failed.
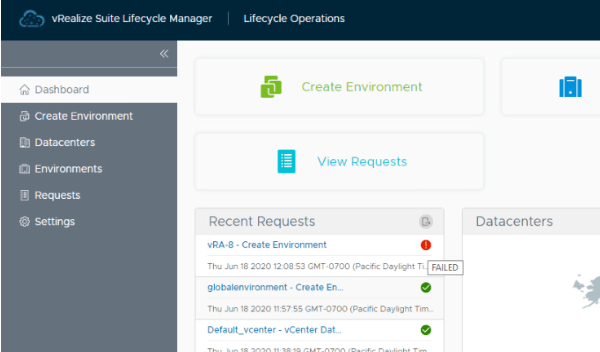
Go to ‘Requests’ to check the status.

Click on ‘Failed’ and it will take you to the sub task.

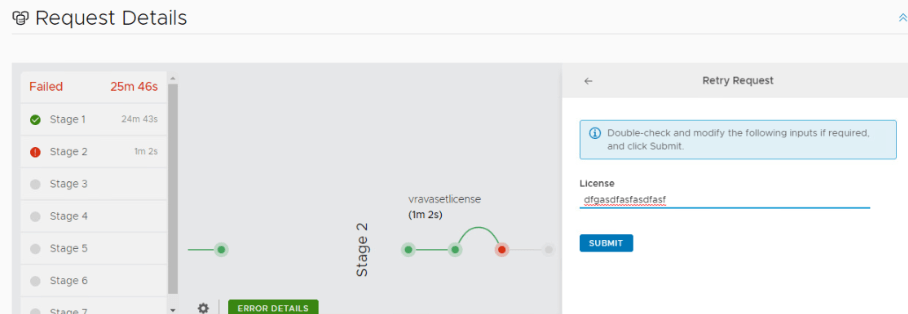
We see that it has failed at ‘Stage2’. Click on the task ID to view more details.

‘Failed to set vRA license key’ – License key was incorrect.
Click ‘Retry’, enter the correct key and Submit.
Request shows in progress again.

And Done.

That’s it for this post. We have deployed vRLCM along with vRA and vIDM. Did little troubleshooting too. Next post will cover vRLCM navigation, binaries and few other configuration options.
Have a great day. I hope that the blog was helpful.
Are you looking out for a lab to practice VMware products..? If yes, then click here to know more about our Lab-as-a-Service (LaaS).
Subscribe here to receive emails for new posts on this website.
