We did the deployment of vROPS & vRB in my last post, vRA 8.1 & Identity Manager was already installed as part of vRLCM deployment. All products have been already integrated into VMware Identity Manger (vIDM). For now, only local users can log into these products because we have not integrated Active Directory into vIDM. In this post, I will walk you though the procedure to integrate AD into vIDM.
VMware Identity Manager is the identity and access management component of Workspace ONE. Workspace ONE is a new VMware offering designed to directly address challenges faced by organizations in the consumerization of IT. Workspace ONE is the simple and secure enterprise platform that delivers and manages any app on any device by integrating identity, application, and enterprise mobility management.
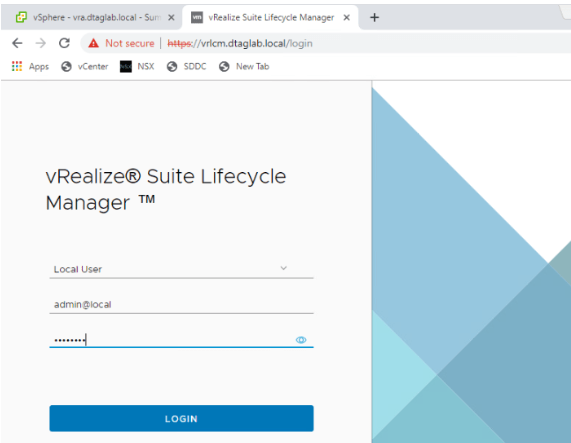
Let’s log in to vIDM using idm (local) account. We provided this account information while deploying vIDM.

Notice that the header of the page has Workspace ONE logo and I see vRLCM application listed in the catalog.
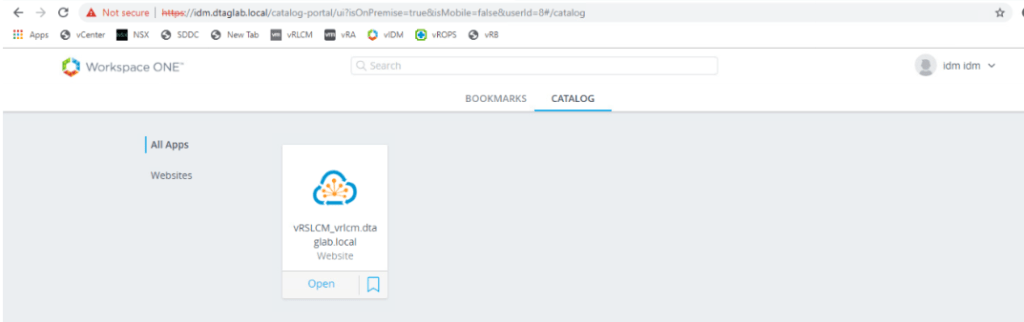
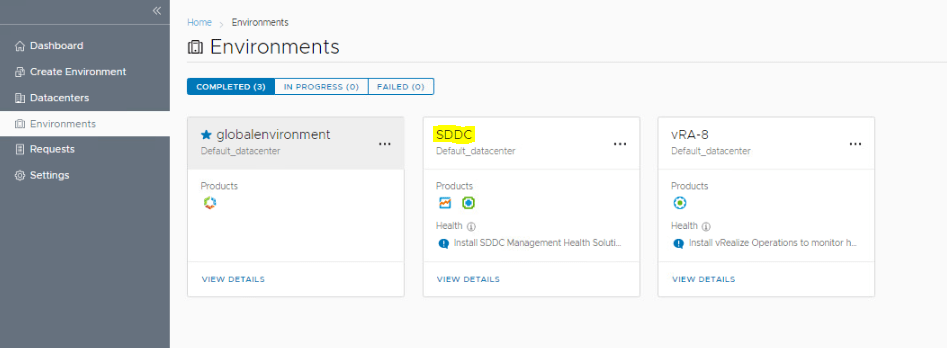
After my last post on vROPS and vRB, I saw these two applications listed here. I deleted them to free up my compute resources.
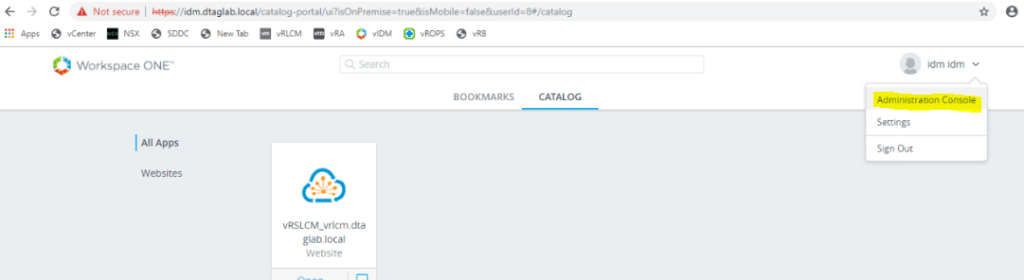
Next, Click on the user account > Administration Console
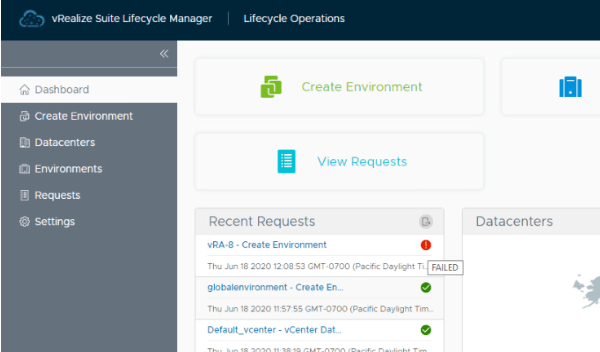
You will land up on the Dashboard of the vIDM. Click ‘Identity & Access Management’

We only see ‘System Directory’ here. Let’s integrate our Active Directory, so that the users from AD can access the applications integrated into vIDM.
Click on ‘Add Directory’
Directory Name: dtaglab.local
Click the radio button to select ‘AD (Integrated Windows Authentication)’

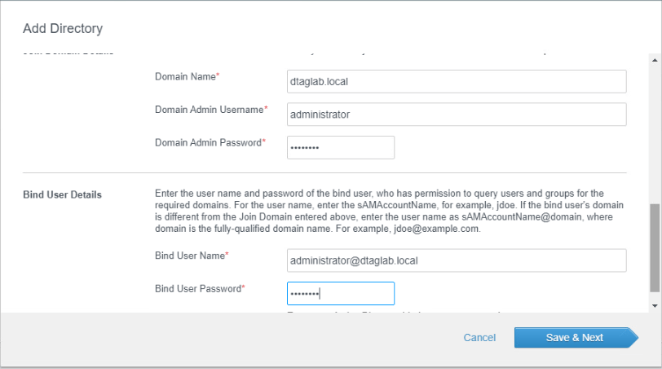
Scroll down and provide Join Domain details.
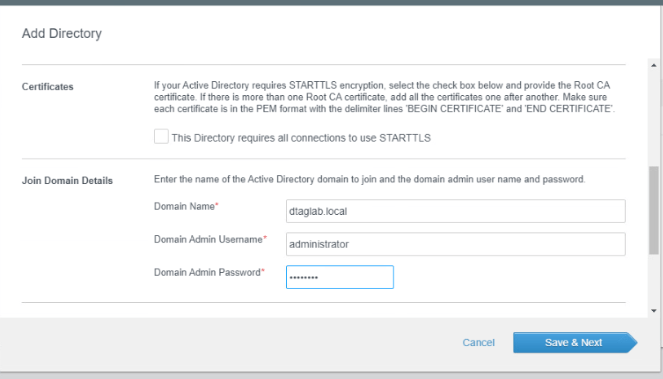
Bind User details > Save & Next
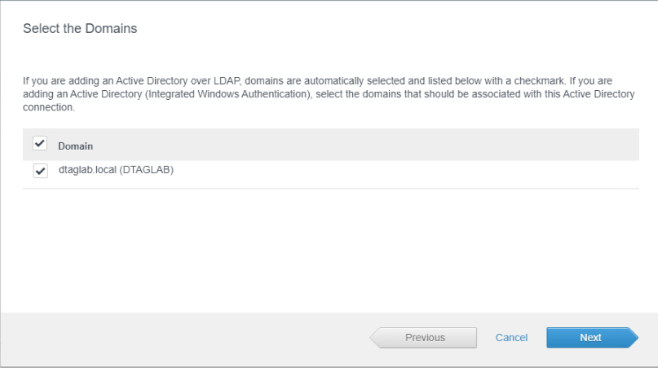
Select your domain and Next.
Next

If you want to sync groups from AD, Click on + sign on this page.
For now, I will only sync users from AD. Click Next without any action on this page.

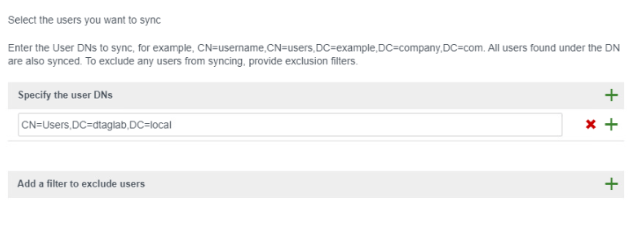
Click on + sign and provide user DN’s (Distinguished Name)
On this page, we provide a location from where you want to sync users from your AD.
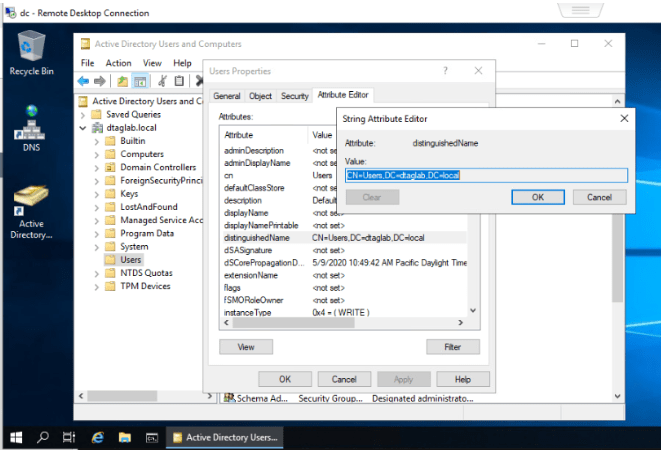
DN can be obtained from AD users and groups here.
On the Review screen, you get a summary of the users that are going to sync with vIDM.

Scroll down to check for errors.
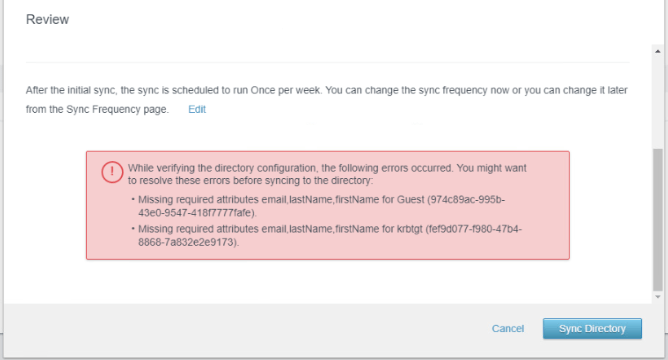
This error is for ‘Guest’ & ‘krbtgt’ users, which does not matter to us for now.
Note: You have to configure ‘First Name’, ‘Last Name’ & ‘Email address’ of the users to be sync with vIDM. Users does not show up if you do not have these properties defined.

Click ‘Sync Directory’ on the review page.
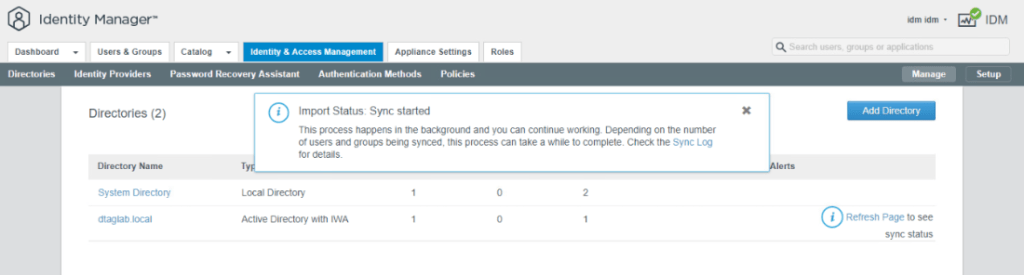
Sync has started. It takes little time and depends on how many users to sync. Click ‘Refresh Page’ and check the status. You see a green check box and number synced users show up.

And we are done. We have integrated Active Directory into vIDM and all synced users can be given access to the application that are integrated with vIDM.
Remember, you still have to manually give permissions to the users for a specific application. We will see that in my next post when we start configuring vRA.
I hope that the information was helpful. Keep learning. 😊
Are you looking out for a lab to practice VMware products..? If yes, then click here to know more about our Lab-as-a-Service (LaaS).
Subscribe here to receive emails for new posts on this website.