I hope, by now you have clear understanding of Blueprints in vRA. Likewise, you can create a blueprints for any OS which supports virtualization. Let’s continue to next blog.
VMware vRealize Automation 8.1 – Part1: Cloud Assembly & Service Broker
VMware vRealize Automation 8.1 – Part2: Cloud Accounts, Projects & Cloud Zones
VMware vRealize Automation 8.1 – Part3: Flavor Mapping & Image Mapping
VMware vRealize Automation 8.1 – Part4: Network Profiles
VMware vRealize Automation 8.1 – Part5: Blueprints
VMware vRealize Automation 8.1 – Part6: Content & Catalog
VMware vRealize Automation 8.1 – Part7: User Permissions, Roles & Branding
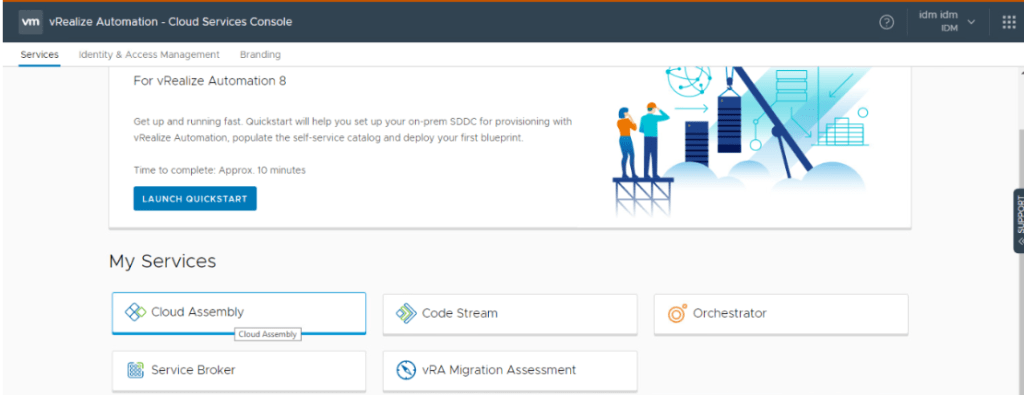
This post will focus on post tasks that has to be performed to get the Blueprint into the catalog. You have to use ‘Service Broker’ section from ‘My Services’ for further configuration. It used to be ‘Entitlements’ section in earlier version of vRA.
Service Broker: It provides a single to point to request and manage catalog items.
Log into vRA & Click on ‘Service Broker’
Service Broker> Content & Policies> Content Sources> New
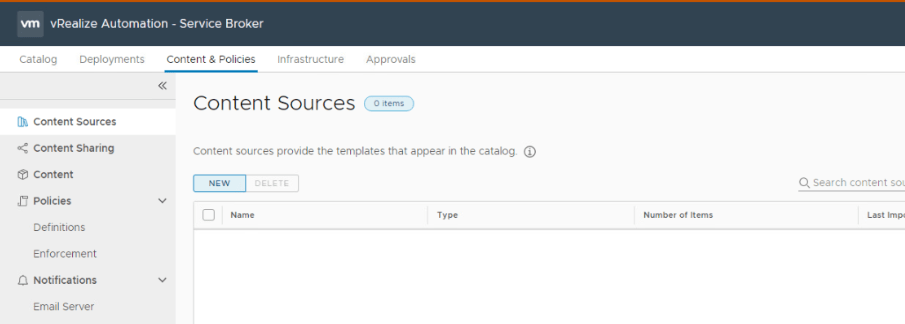
We want to import a Blueprint that we created in cloud assembly. Click on ‘Cloud Assembly’
Also note the various sources from where you can import blueprints from.

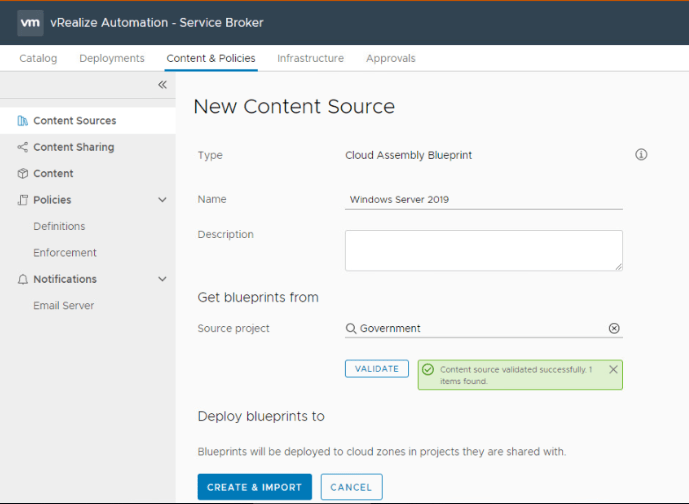
Provide a Name, Select Source Project and click on Validate. The Validation returns with ‘1 item found’
Create & Import.
Verify that the source has been added and you Number of items listed.

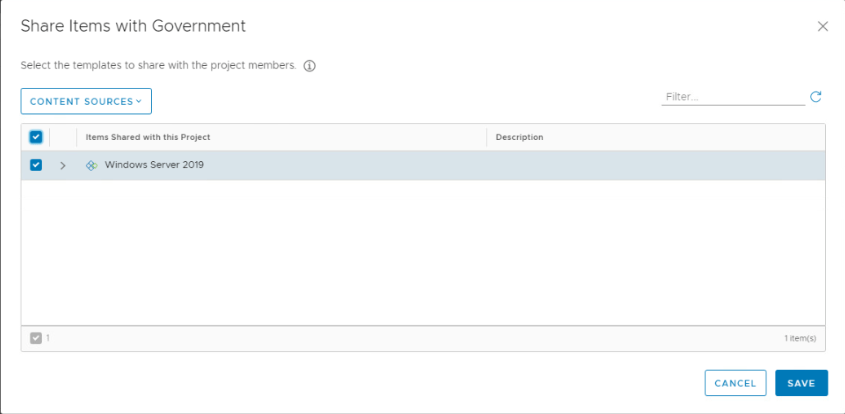
Move to ‘Content Sharing’. Search and select ‘Gov’ project.> ‘Add Items’

Check the box for ‘Windows Server 2019’ item and click on Save.
Your template should appear in ‘Content’ section.
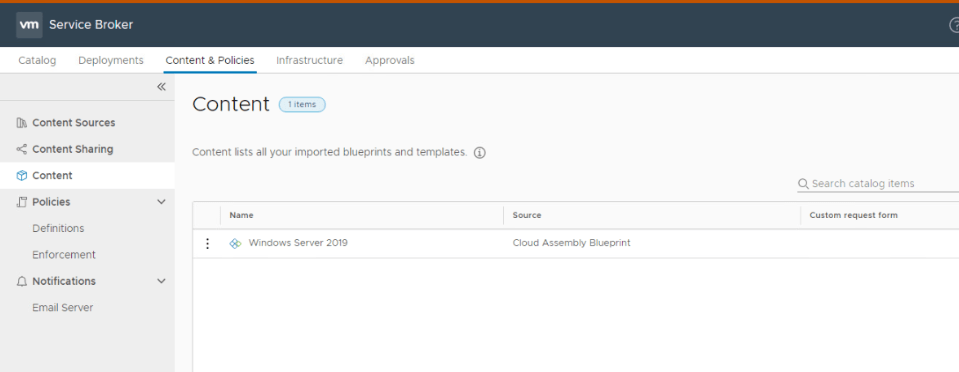
Content section will show you all your imported blueprints and templates. And all items from this page will appear under ‘Catalog’
Click on ‘Catalog’ & you should see a catalog item to ready for users to request.

Any user who has been granted with appropriate access can now request for a Windows Server from this page.
Click on ‘Request’ and click on Submit.

Once the request has been submitted, it will deploy a windows server without user intervention. Its all because, we have configured backed infrastructure and a system admin no longer needs to perform any tasks manually. This is ‘Automation’ and similar configuration can be done for all supported server versions in vRA.
That was all for this post. Will check on user permissions in my next post.
Are you looking out for a lab to practice VMware products..? If yes, then click here to know more about our Lab-as-a-Service (LaaS).
Leave your email address in below box below to receive notification on my new blogs.
