In my last post, we did the deployment of vRLCM 8.1 successfully and checked some troubleshooting steps too. Initial deployment installed vRLCM, vRA & vIDM. Check my previous blog for more details here. https://virtualrove.com/2020/06/22/vrlcm-8-1-part1-deployment-configuration/
This post will focus on adding binaries to vRLCM and deploying remaining vRealize Suite products. Before we move forward, lets navigate through vRLCM to check more options.
You get this page as soon as you login to vRLCM.

Lifecycle Operations: As an administrator, you will mostly spend your time in lifecycle operations. This application will let you manage the Day 0 to Day 2 operations of all your vRealize Suite products.
Locker: This place is mostly for certificate management. You can Generate, Import & Generate CSR here. Also, you can also manage passwords and licenses on this screen.
User Management (Identity and Tenant Management): All tasks related to authentication can be performed on this screen. You can add directories (Identity Source) here and manager users and permissions.
Content Management: You use the content management APIs to manage software-defined data center (SDDC) content. To manage SDDC content, you first need to add them as an endpoint on this screen. There are several other options on this screen. You will have to check VMware detailed documentation if you want to take an advantage of content management.
Marketplace: Use this option to add and manage content from Marketplace.
‘Lifecycle Operations’ is the area of interest for us. All important tasks will be performed from this screen.

Click on ‘Environments’

We already have a globalenv (vIDM) & vRA-8. Check more details on ‘View Details’
Let’s create a new environment.

A message appears, Before you create an environment to deploy a product, you must download or discover the Product Binaries.
Settings> Binary Mapping >Add Binaries
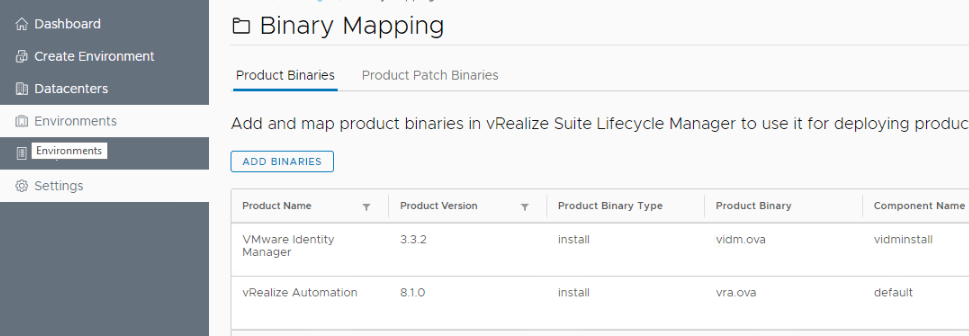
Before you move on, make sure that you have uploaded all ova files of the vRealize Suite products to /data/ova location in the vRLCM appliance using winscp. I have following ova files downloaded, however I was not able to upload them all to vRLCM due to space issue. Remember, in previous post I mentioned that the storage requirement is 48 GB for vRLCM and it used all of that after uploading 3 files from below list. I will check on it to increase the storage allocation for vRLCM VM. For now, lets proceed with 3 products.
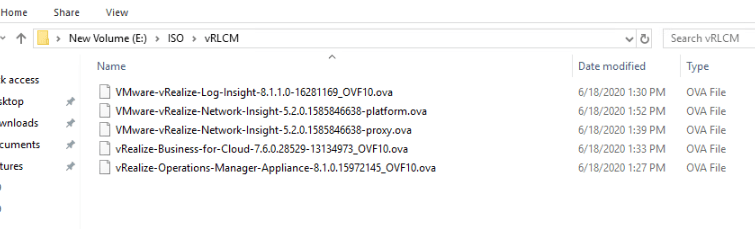
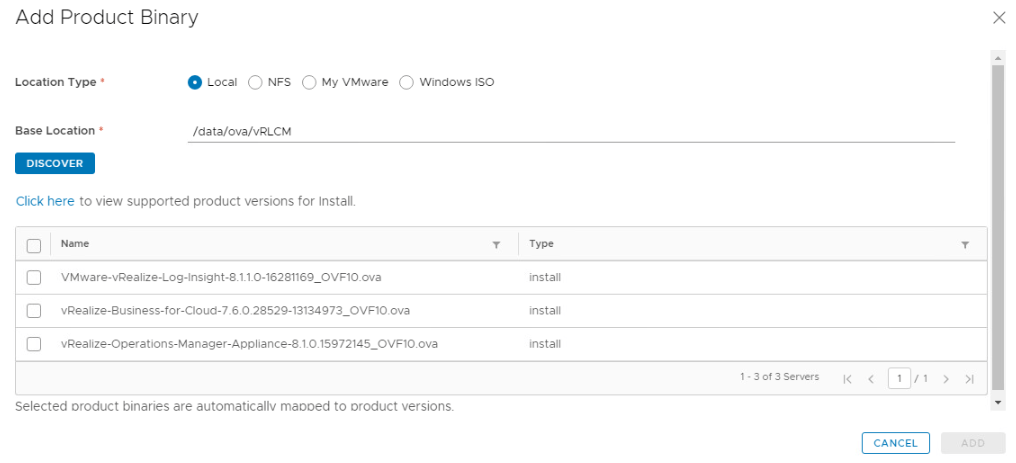
Uploaded vRLI, vRB & vROPS to /data/ova/vRLCM directory and discovered it in vRLCM.
Check the request for the status.
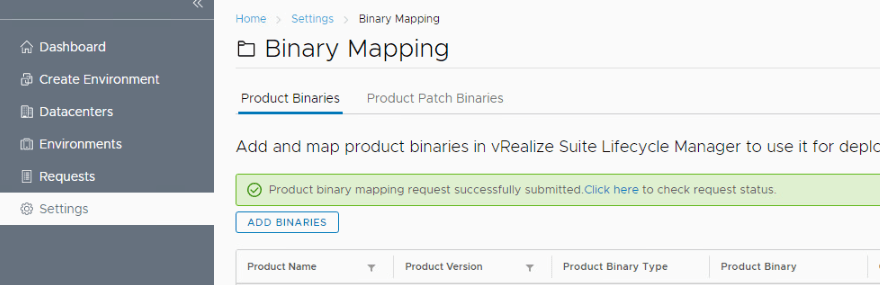
Request shows in progress for couple of minutes.

Let’s create an environment now.
Provide Name, admin email, password from the list & DC.

Click Next to select products that we want to install. I got an error at this stage which also answered my question regarding storage allocation.
‘Disk usage of the system is very high at 100%’

Settings> System Details >Click on ‘Extend Storage’

Provide the required information and click ‘Extend’

Check the request status.

Request will take a min to complete. At the same time, we see that the vRLCM VM disk2 size has been increased in vCenter. I also uploaded VRNI ova file to /data/ova/vrlcm folder. Go to ‘Requests’ and click on pending request to return to ‘Create Environment’ task.
Select the product that you want to install. I have selected vROPS & vRB. Deployment type as ‘Standard’ for all of them.

Check the EULA and click next.
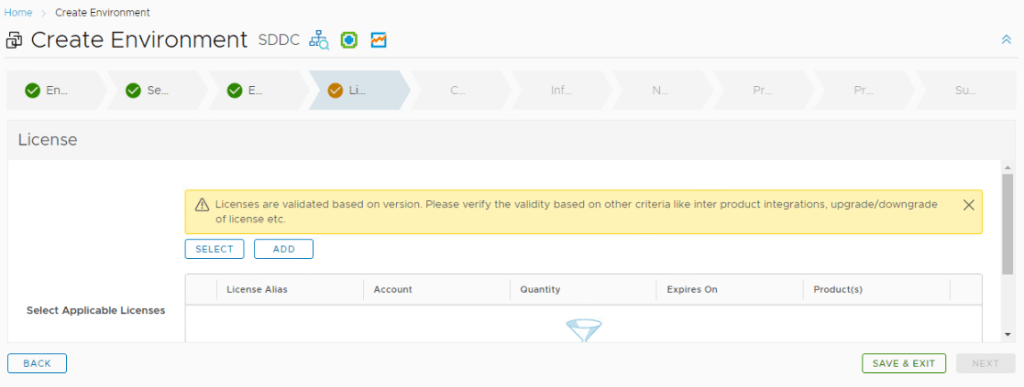
Add appropriate licenses, Next.
Next is Certificate. Upload one or create one on the same page.

Select Infrastructure details. This is where your products will get installed.

Scroll down to select ‘Integrate with idm’. We want our domain users to access this product.

Provide common network parameters on this screen.

Select each product & fill out parameters as shows in the pic below.


Run the pre-check before you start the installation.

Resolve any issues that you see in the ‘Results’ section.


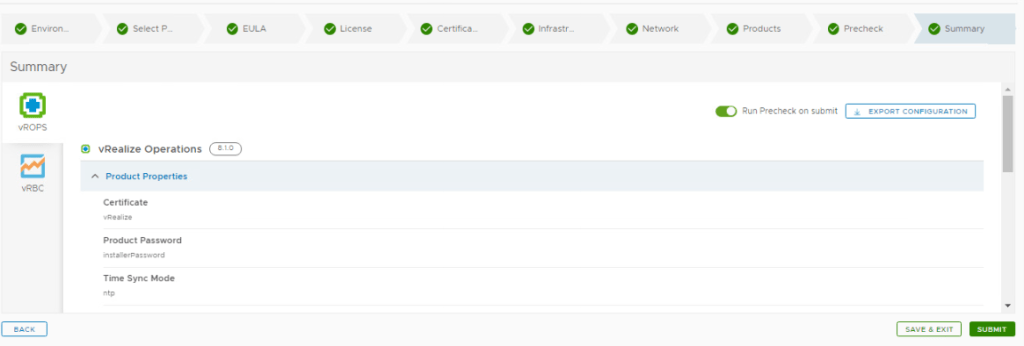
Check the summary and click ‘Submit’
You will a ‘Request’ in-progress.

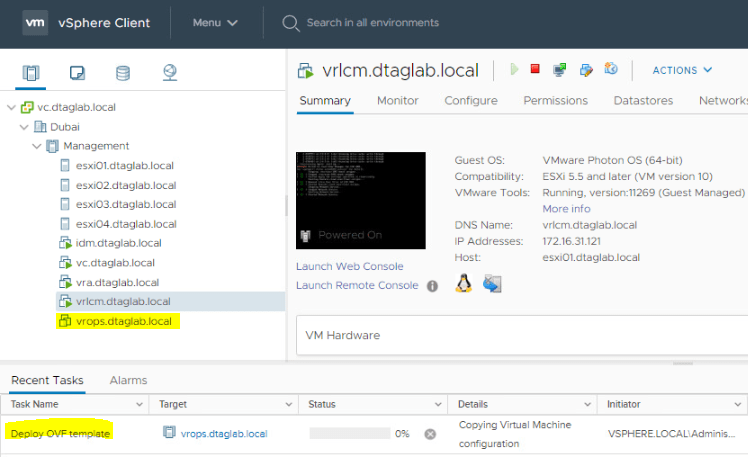
At the same time, we see a vros VM getting created in vCenter.
Both, vROPS & vRB got installed.

Request shows completed in vRLCM.

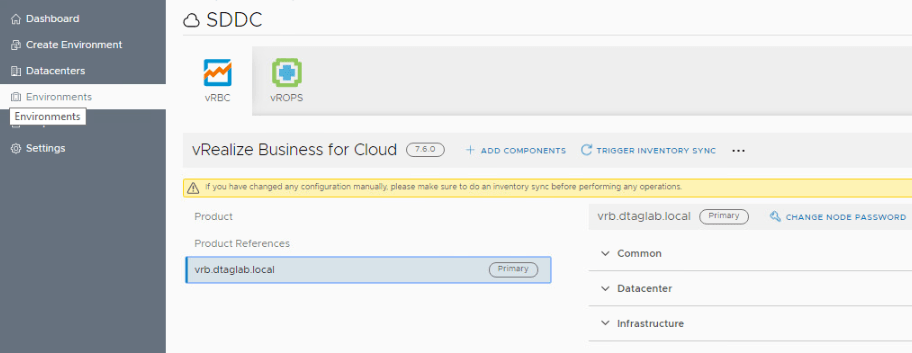
We also a SDDC environment in ‘Environments’ section.
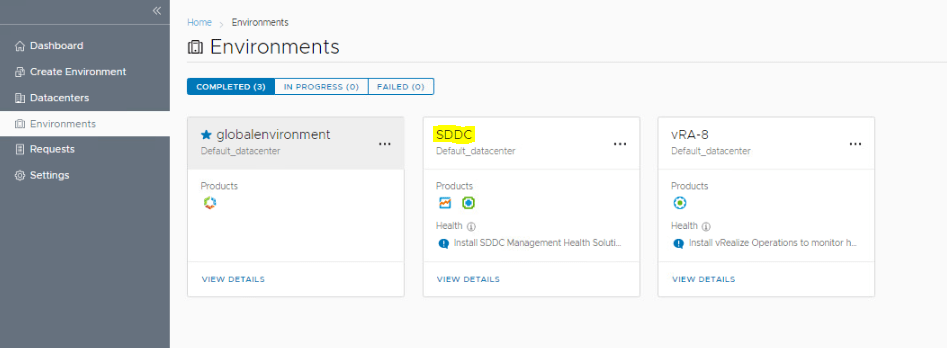
Click on View Details under SDDC to check more details.
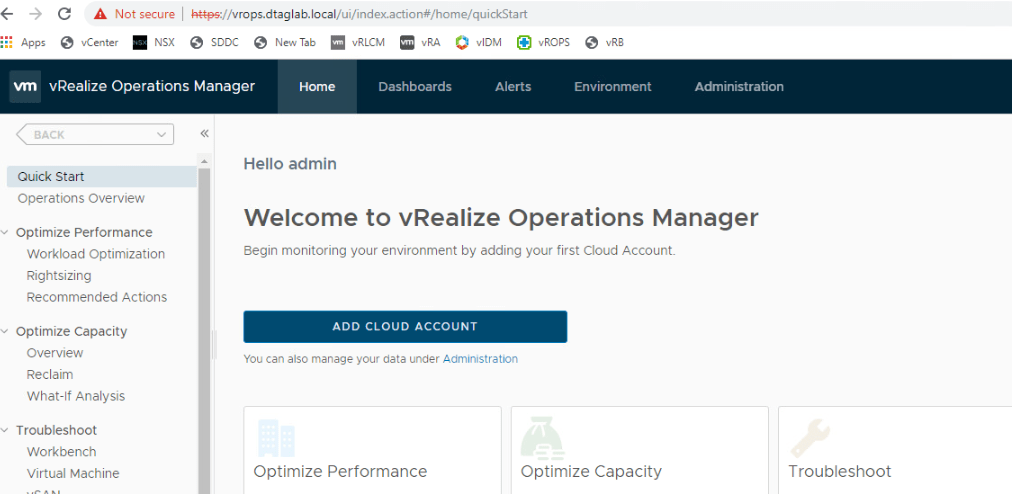
Let’s log into vROPS.
And vRB is also in place. And both of them registered with vIDM.

I could not deploy rest of the products through vRLCM due to compute resource issue. Will try to cleanup and deploy remaining products as and when time permits. However, entire procedure remains as it is. Select vRNI & vRLI while creating new environment.
That’s it for this post. I hope that the information was helpful.
Are you looking out for a lab to practice VMware products..? If yes, then click here to know more about our Lab-as-a-Service (LaaS).
Subscribe here to receive emails for new posts on this website.
