In this post, we will start configuring vRA 8.1. We have already discussed Cloud Assembly and Service Broker in first part of the series.
VMware vRealize Automation 8.1 – Part1: Cloud Assembly & Service Broker
VMware vRealize Automation 8.1 – Part2: Cloud Accounts,Projects & Cloud Zones
VMware vRealize Automation 8.1 – Part3: Flavor Mapping & Image Mapping
VMware vRealize Automation 8.1 – Part4: Network Profiles
VMware vRealize Automation 8.1 – Part5: Blueprints
VMware vRealize Automation 8.1 – Part6: Content & Catalog
VMware vRealize Automation 8.1 – Part7: User Permissions, Roles & Branding
So, what does vRA 8.1 do and what is the advantage of it. Let’s discuss in layman language.
User / Developer / Customer Point of view…
As a user/customer,
I get a web-based portal to request as many as application servers, db servers or web servers, applications or vRO workflows and even on demand networks for applications.
I as a user do not know what happens in the background.
Once the request is completed, I get my server with the IP address, which is accessible from my desktop. And it is ready to use for me without any issues.
Not only this, but there many other examples. That’s the beaty of this product. Now, Imagine that you as a System Administrator gets new server requests daily and every time you manually deploy everything and the server requests can be for vCenter VM, Amazon EC2 instance, Azure Machine or on Google cloud.
Architect / vRA Administrators Job…
I as an architect or vRA administrator, will be responsible to configure entire backend infrastructure. So that a User / Customer doesn’t have to worry about deployments and can requests as many as servers with just few clicks.
Cloud Accounts (Formally known as ‘Endpoints’ in old versions of vRA)
Cloud accounts are the configured permissions that vRealize Automation Cloud Assembly uses to collect data from the regions or data centers, and to deploy blueprints to those regions. Basically, vRA collects all information from the cloud accounts and define a place where your blueprint deployment will happen.
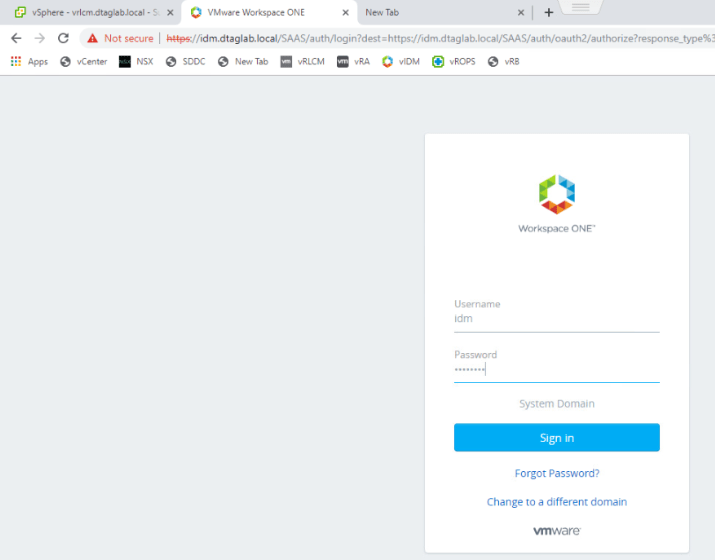
Log into vRA using IDM user and Click on Cloud Assembly.

Click on ‘Infrastructure’ tab > Click on ‘Cloud Accounts’ under ‘Connections’

‘Add Cloud Accounts’

Types can be AWS, Azure, Google Cloud, NSX-t, NSX-V or vCenter. You need to have subscriptions to public cloud platforms in order to add them into vRA. We will use vCenter for demo purpose.
Select ‘vCenter’
Provide Name and vCenter Server Credentials information.
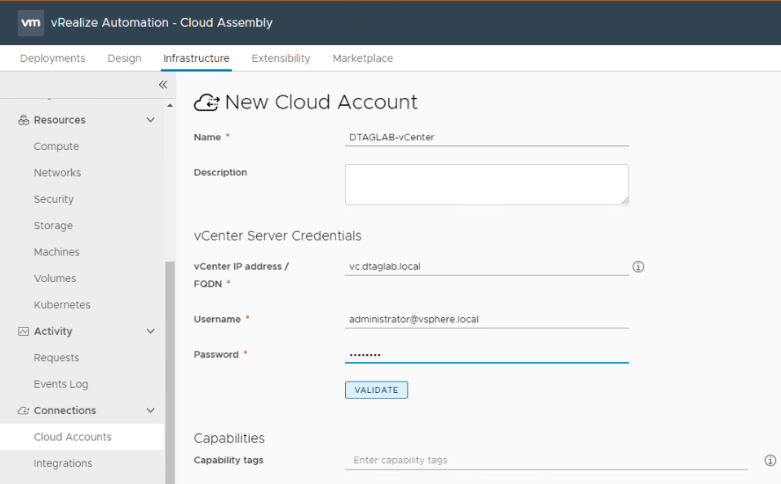
Click on ‘Validate’ and make sure its Green.
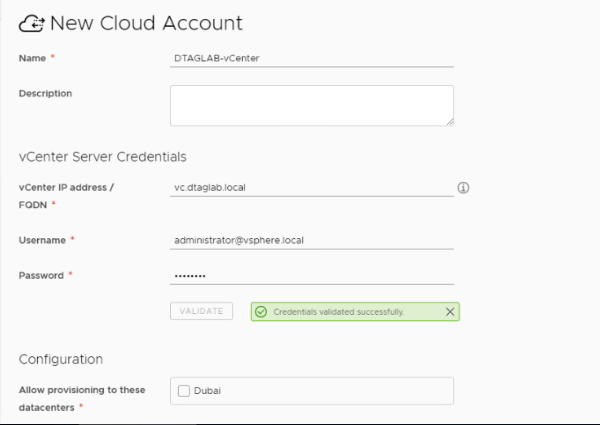
Check the box for your datacenter under Configuration and click Add.

Make sure that the status shows OK.

Cloud Account has been added. We now move to creating ‘Project’.
Projects controls who has access to vRA Cloud Assembly blueprints and where the blueprints are deployed. You use projects to organize and govern what your users can do and to what cloud zones they can deploy blueprints in your cloud infrastructure. Anyone who creates and deploys blueprints must be a member of at least one project.
Infrastructure> Projects> New Project
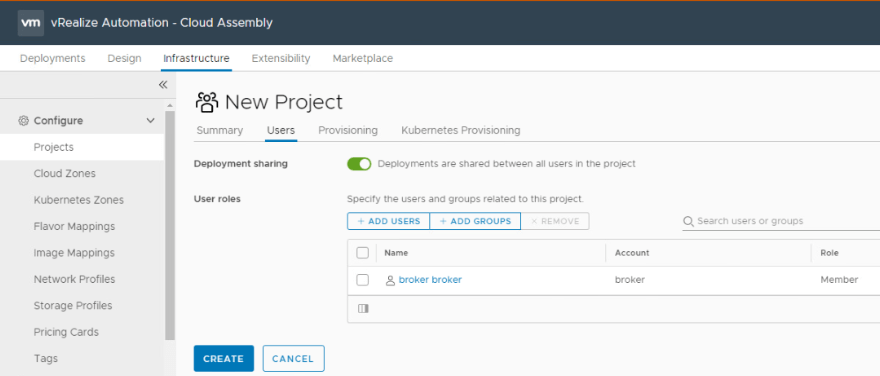
Provide Name & Description under Summary.

Click on ‘Users’ tab to add users from AD to access this project.
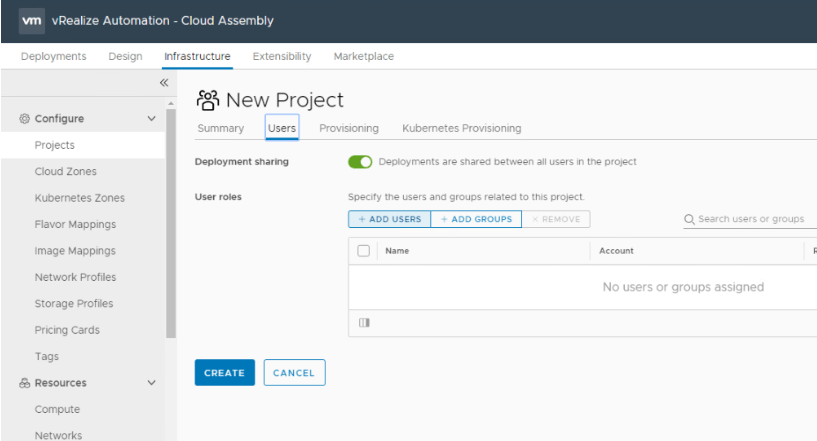
Add Users
Type the name of the user, User Account should appear automatically in the dropdown.
Note: User Account will not be populated until you integrate your Active Directory in the vIDM. The procedure was explained in my one of the vRLCM blog here.
https://virtualrove.com/2020/07/11/vmware-vrlcm-8-1-part3-identity-manager-ad-integration/

In ‘Assign Role’ Select ‘Member’ and click on ADD.

Selected User will be listed along with him role. You can also add groups here.
Move to ‘Provisioning’ tab to add ‘Cloud Zone’

Cloud Zone: Cloud Zones are sections of compute resources that are specific to your cloud account type. Cloud zones are specific to a region and you must assign them to a project. Basically, you assign compute resources for your blueprints and at the same time, you limit the amount of resources that can be used from this Cloud Zone.
Click on ‘Add Cloud Zone’
Cloud Zone: Select appropriate one from the dropdown.
Fill all parameters. All of them are self-explanatory.

Click on ADD.

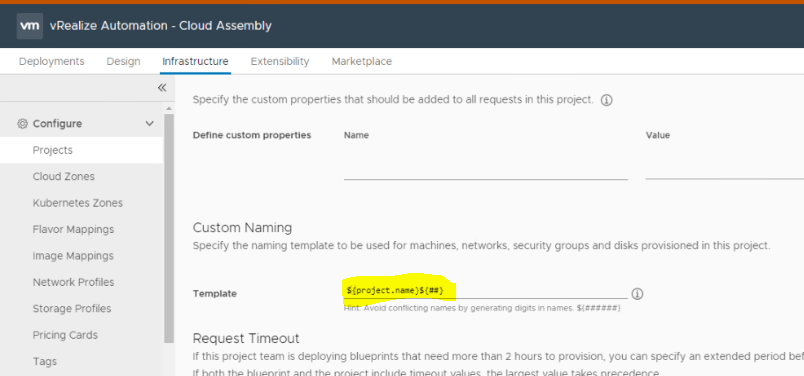
Scroll down to ‘Template’ Section.
This place is to define Naming Patter/Convention for the VM that gets deployed via vRA. You can create naming template for all deployments from vRA. And you have to make sure that each VM gets a unique name.
For Example: You might want to keep the name of the VM starting with the Project name and then incremental two digit number.
Let’s configure it same way in our deployment too. To do that, you have to enter following value in template section. All values auto-populate as soon as you type $ in the section.
${project.name}${##}
Note: Deployment will fail if you do no follow the pattern.
Rest to keep on default. Click ‘Create’. Project has been created successfully.
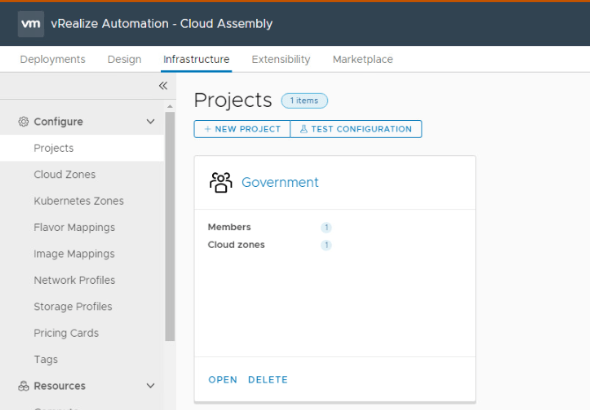
You should also see a ‘Cloud Zone’ created.

We have created ‘Cloud Account’, ‘Cloud Zone’ & ‘Project’ in this post. Next post will focus on remaining configuration of vRA. Thank you for reading. I hope that the blog contains valuable information. Thank you. 😊
Are you looking out for a lab to practice VMware products..? If yes, then click here to know more about our Lab-as-a-Service (LaaS).
Leave your email address in below box to receive notification on my new blogs.